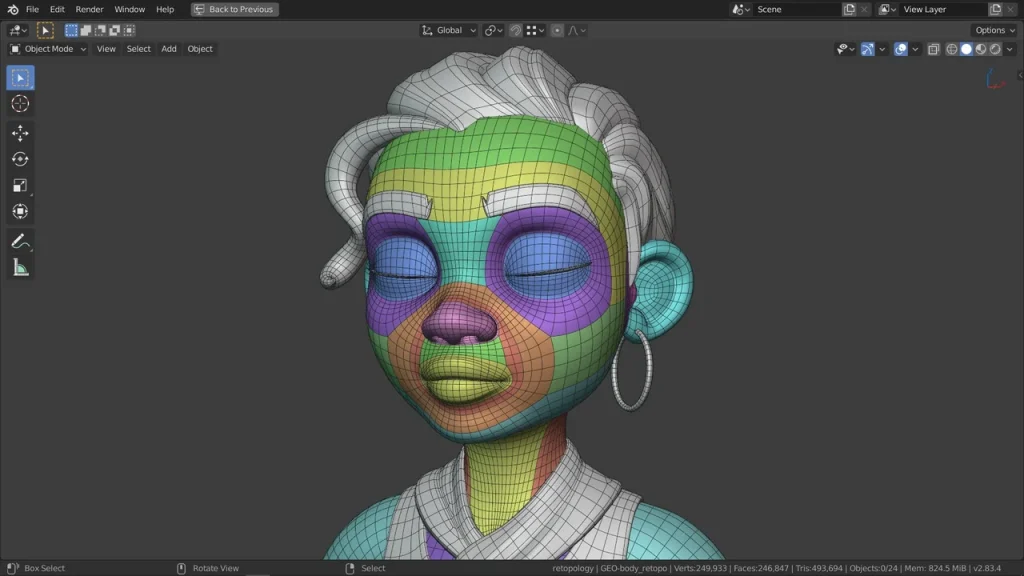
Product modeling for visualization means building an accurate 3D replica of a product from CAD files, drawings or reference photos, with correct proportions, clean surfaces and realistic materials. A good model can then serve stills, animations, configurators and AR without being rebuilt.
If you do it yourself, our Null Labs tool Quick Align aligns and distributes objects inside Blender.
In the dynamic world of product modeling, mastering the art is essential for creating stunning visuals that captivate your audience. Whether you’re a seasoned designer or just starting, these techniques and tips will set you on the path to excellence.
1. Choose the Right Software
Selecting the right software is crucial. Industry-leading tools like Autodesk Maya, Blender, or SolidWorks empower you to create intricate 3D models. Familiarize yourself with their features and unleash your creativity.
2. Start with Simple Models
Begin with straightforward models. As you gain confidence, tackle more complex designs. Simplicity allows you to focus on refining your skills and understanding the nuances of 3D modeling.
3. Reference Materials
Use reference materials extensively. Whether it’s photographs, sketches, or existing products, references provide valuable insights. They guide your modeling process and ensure accuracy.
4. Attention to Detail
Details matter. Employ state-of-the-art 3D scanners or photogrammetry techniques to capture every nuance of the physical product. High-resolution scans serve as the foundation for realistic 3D models.
5. Textures and Materials
Authenticity lies in replicating materials faithfully. Dive deep into the characteristics of wood, metal, fabric, or glass. Texture mapping and material shaders enhance realism.
6. Master Lighting and Rendering
Lighting and rendering are artistic tools. Experiment with different setups to create the desired ambiance. Precise placement and intensity adjustments elevate your visuals.
7. Optimize for Efficiency
Efficiency matters. Streamline your workflow by organizing files, using shortcuts, and mastering keyboard commands. Time saved can be invested in perfecting your models.
8. Collaborate and Seek Feedback
Collaborate with peers and experts. Feedback fuels growth. Constructive criticism helps you refine your work and discover new perspectives.
9. Realistic Animation
Explore animation techniques. Breathing life into your models through animation adds another dimension to your work. Study movement and dynamics.
10. Customization Options
Consider customization. Allow users to interact with your models—adjust colors, materials, and configurations. Customizable models enhance user engagement.
Remember, mastering product modeling is a journey. Embrace continuous learning, stay curious, and let your creativity soar! 🚀
Related: 3D visualization and films · The New Beginning · Planning a product animation
05 / Questions
Ask us anythingBefore you
get in touch.
It depends on scope: the number of assets or shots, the level of detail and the delivery formats. We send a quote after reviewing your brief and bill in USD by milestone.
It depends on scope; we confirm a schedule after the brief. Larger or more detailed projects are split into milestones so you can review progress along the way.
Models are usually delivered as FBX, OBJ, GLB or USDZ with textures, plus rendered stills as PNG or TIFF. We confirm the exact formats and specs in the brief so the files fit your pipeline.
You share CAD files, photos or samples. We model and texture the product, share renders for review, refine the details, and deliver the files in the formats you need.
Clients officially own the final files once payment clears. Null Station keeps the right to show the work in its portfolio.